

-
Products
-
-
-
-
Contact Us
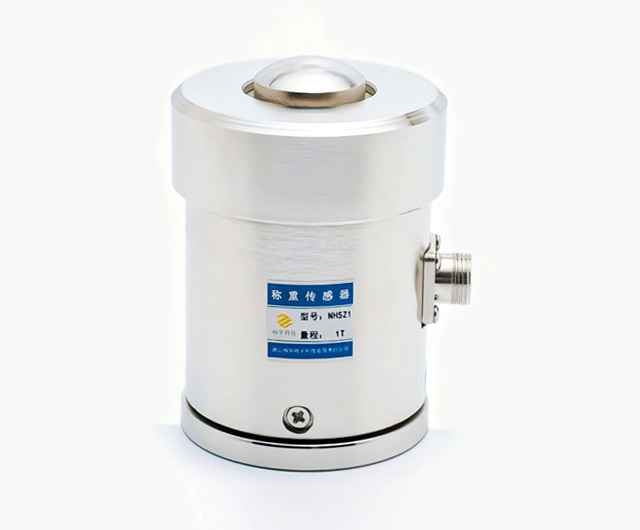
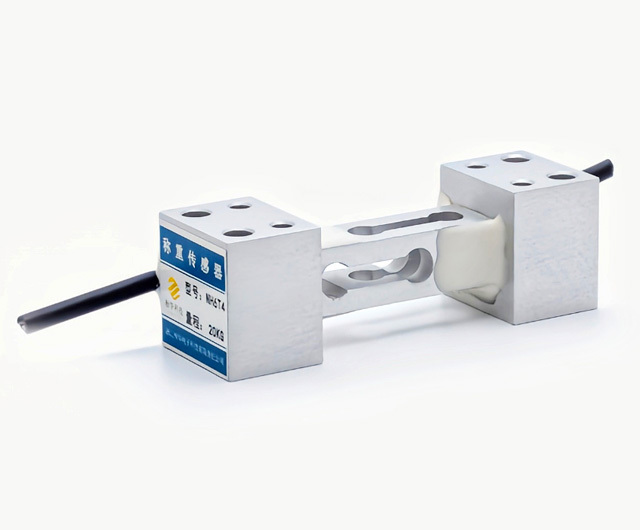
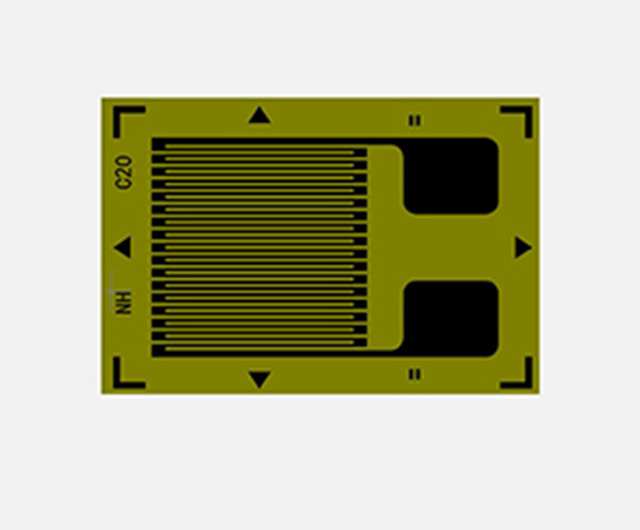
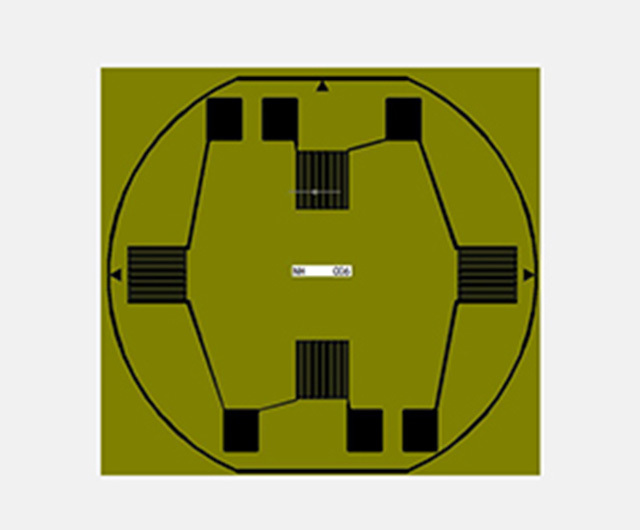
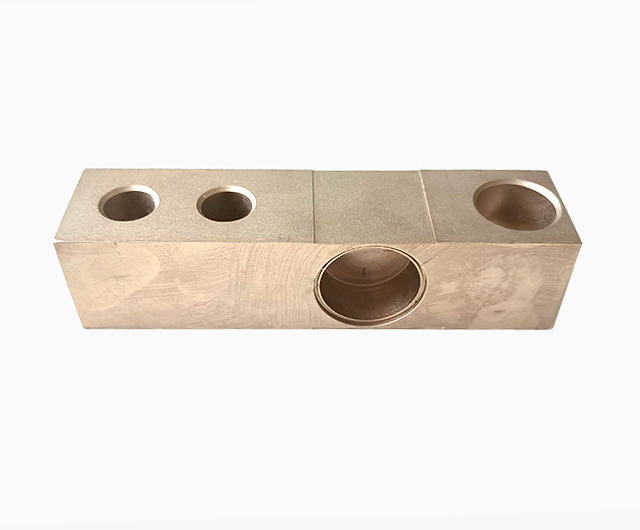
Installation of strain gauge
2025-09-16
Installation of Strain Gauges
The installation of strain gauges is a crucial step in strain measurement. The quality of the bonding process directly affects measurement accuracy and reliability. Installing strain gauges requires professional, correct, and precise operational steps.
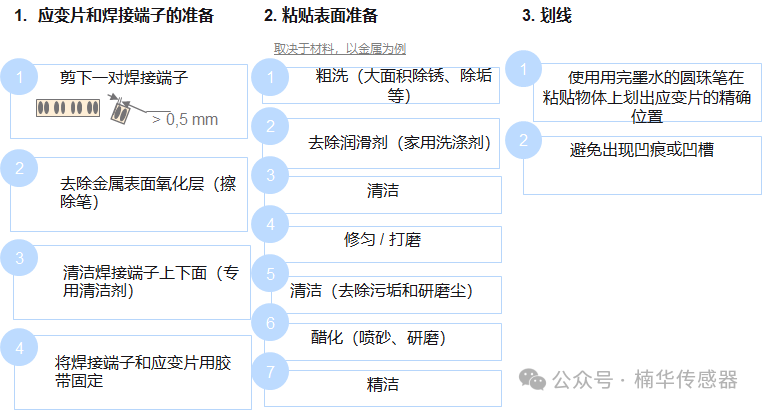
1. Preparation of Materials for Strain Gauge Installation
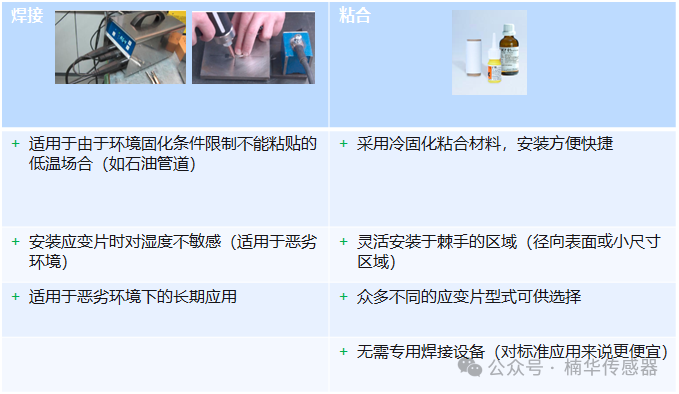
2. Welding or Bonding?
3. Correct Bonding
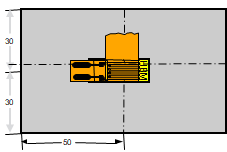
1. Positioning
Use tape to fix the strain gauge at the measurement point
Please use round-tip tweezers!
2. Bonding (Special Cold-Curing Adhesive)
Lift the strain gauge (including the solder terminals)
Drop a drop of special adhesive onto the surface of the object
Press the strain gauge down with your thumb
Press for one minute (use a polytetrafluoroethylene film between the thumb and the object to avoid sticking)
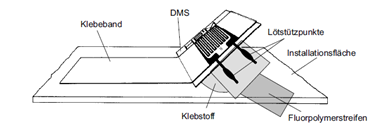
Tips:
Goal: Transfer all strain to the strain gauge (ensure a tight connection between the measurement object and the strain gauge)
Roughen (sand) to increase effective bonding area

Keep the adhesive layer as thin as possible
4. Correct Welding
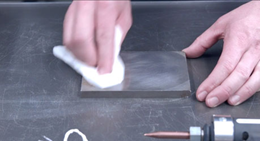
1. First, clean the surface.
Use sandpaper to remove major impurities to ensure the surface is pure metal.
2. Position the strain gauge on the steel surface.
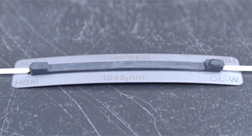
3. The strain gauge base is nailed to the metal surface.
With a series of small weld points as shown in the figure below, it is recommended to use a mobile spot welding device.
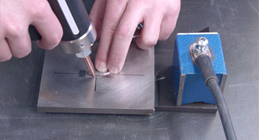
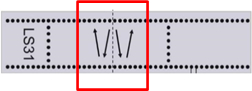
Alternate weld points.
5. Key Points for Lead-Free Soldering of Strain Gauges
1. It is best to use a temperature-controlled soldering machine.
2. The soldering temperature of the soldering tip should be ≤320°C.
3. Use a soldering tip shape suitable for the pad.
4. Keep soldering time as short as possible and avoid multiple soldering attempts.
5. Note: Due to increased tin content in solder and higher soldering temperatures, the tip wears out faster! Lower the temperature during long breaks.
6. Before use, tin the soldering iron tip with new solder and remove old solder.
7. Clean the soldering tip and avoid oxidation as much as possible.
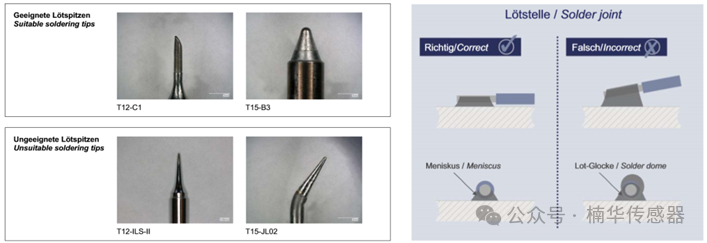
6. Protection of Strain Gauge Measurement Points
Practical advice for using covering materials.
1. Thorough surface preparation is important (ensure enough space for adhesive application and protection when preparing the strain gauge installation surface).
2. Install the covering as soon as possible after bonding the strain gauge (consider adhesive curing time; use polyimide tape as an alternative).
3. The critical part is the cable (including very precise protection and sealing).
4. Fix/protect the cable and protect it again to avoid damage (lever effect).
5. Do not seal in moisture; if necessary, use a hairdryer to dry the surface.
Tips and tricks for using covering materials.
1. Combining various covering materials can increase protection levels (e.g., using multiple layers).
2. Water vapor is considered a very important factor and must be sealed (use professional covering materials).
3. Consider capillary action of cables under extreme conditions (longitudinal shrinkage) (moisture can penetrate to the measurement point through the cable; if necessary, use enameled wire for the last few centimeters).
7. Quick Tips for Strain Gauge Installation
Tip 1: The most important step is proper preparation; prepare all materials needed for installation in advance.
Tip 2: Use a handheld sander or sandblaster to clean the space for strain gauge installation, saving time and effort.
Tip 3: Use a surface cleaner to clean the sanded area to remove dirt, grease, and other impurities.
Tip 4: After surface preparation, mark the measurement point with an empty ballpoint pen.
Tip 5: Remember, no matter how many strain gauges you plan to install, prepare each measurement point step by step.
Tip 6: We recommend using pre-wired strain gauges so you don't have to solder.
Tip 7: Choose the appropriate adhesive.
Tip 8: Use covering materials to protect the entire surface of the strain gauge.
Tip 9: Choose the appropriate amplifier or data acquisition system.
Tip 10: Choose the correct analysis software.
Previous page
More news

Hotline
Technical Support
Address
No. 1, Building 1, Yin Cang Road, Green Industry Cluster, Quzhou City, Zhejiang Province
Follow us



Copyright © 2024 Zhejiang Nan Hua Electronic Technology Co., Ltd. | Powered by www.300.cn